How I paint your minis
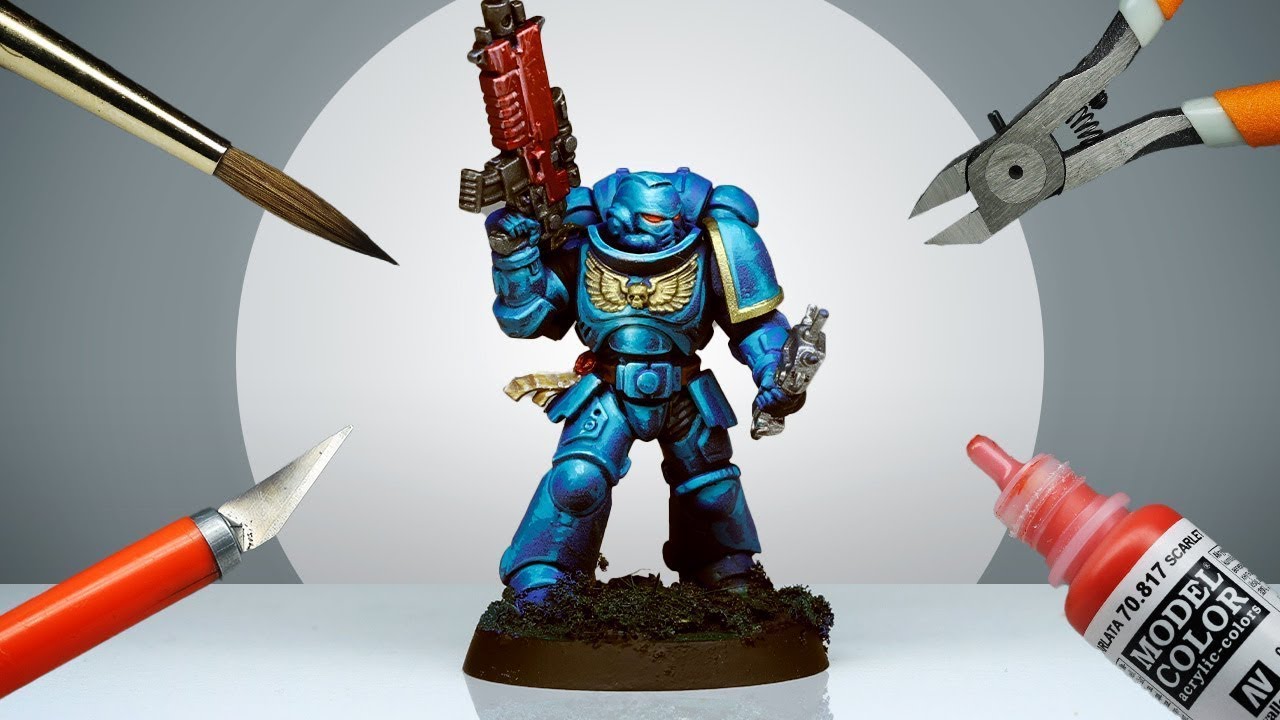
When a customer brings a miniature to me for painting, I start by making sure the model is properly prepared before any paint is applied. I clean off any mould lines or unwanted imperfections, assemble the miniature where necessary, and make sure everything is securely put together. I then prime the model so the paint has a good surface to adhere to and the finished result is durable.
Once the preparation is complete, I establish the main colour scheme. I apply the base colours carefully, making sure the paint is smooth and evenly distributed without obscuring the miniature’s details. From there, I begin building up the model with shading and highlights.
For shading, I use washes and carefully placed darker tones to bring out the depth of the miniature and make details such as armour, clothing, faces, and equipment stand out. I then add lighter colours to raised areas and edges, creating highlights that give the model more definition and make it look more three-dimensional.
For more detailed projects, I can take the painting further by adding techniques such as layered highlights, edge highlighting, glazing, blending, and fine brushwork. Smaller details such as eyes, weapons, insignia, gems, and other accessories are painted individually to give the miniature a finished appearance.
The base is also an important part of the final model. Depending on what the customer wants, I can add materials and colours to create effects such as grass, stones, dirt, rubble, or other themed environments. Finally, I inspect the miniature, tidy up any areas that need attention, and apply a protective varnish when appropriate.
My aim is to make every miniature look clean, detailed, and finished while following the customer’s chosen colour scheme and the level of quality they have requested. Whether it is a single character model or a large army, I treat each project with the same care and attention to detail.